| T O P I C R E V I E W |
| maryjane |
Posted - Apr 29 2014 : 4:29:00 PM
To readers of my Milk Cow Kitchen book, please make note:
On page 85 of my book, you’ll find instructions for making a homemade cheese press. A cheese press is a simple device that helps apply a specified amount of pressure to cheese to expel excess whey and help create just the right balance of moisture in the cheese. There are several different types of cheese presses you can buy, including a Dutch press, which operates on a lever system and is very useful in applying large amounts of constant pressure with a limited amount of weight. Other cheese presses use a spring and board combination where the pressure is adjusted by tightening springs that put pressure on a board that sits on top of the cheese mold, which in turn puts pressure on the cheese. The amount of pressure is usually measured on a scale where the fractions of inches that the pressing board is lowered are equal to a specified weight. The primary problem with these types of presses is that as the cheese compresses and loses whey, the amount of pressure changes and needs to be adjusted constantly.
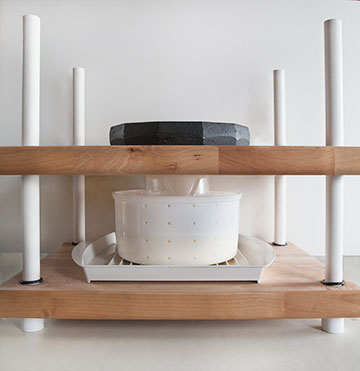
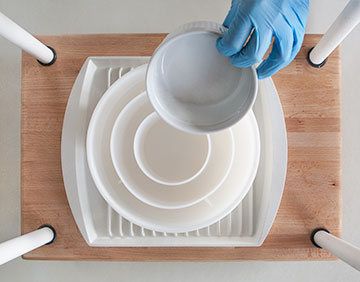
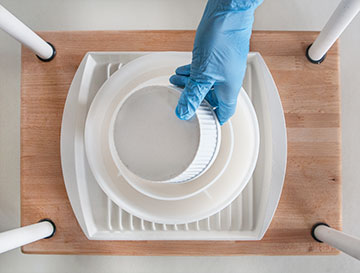
The type of cheese press we prefer is a simple press that has a stationary cutting-board base and four rods attached to it at all of the corners, with another cutting board that sits on top and can be removed. The cheese mold is placed in between these boards on top of a draining tray and weights are placed onto the top board to press the cheese, applying constant and consistent pressure. This type of press is quick, simple, and inexpensive to make.
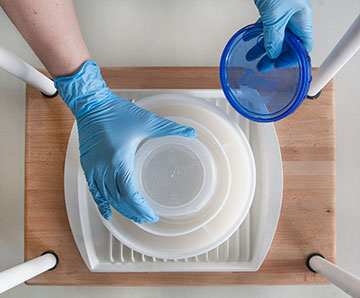
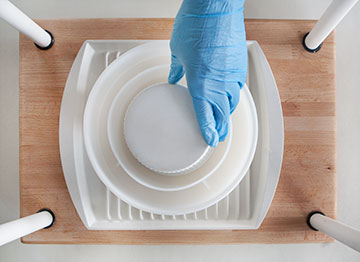
Note: Everything about the homemade cheese press my DIL and I came up with is a slam dunk. We use ours several times a week—pretty much constantly! We have a tendency to use whole milk for our hard cheeses, simply because we think it makes a richer, more flavorful cheese. Should you use skim milk for some of our cheese recipes, the volume of cheese will be less than that for whole milk, resulting in a thinner round “brick” of cheese. When that happens, the plastic part of the cheese mold called the “follower” will be pushed by the weight applied on the top below the sides of the mold itself, hence no more pressure being applied.
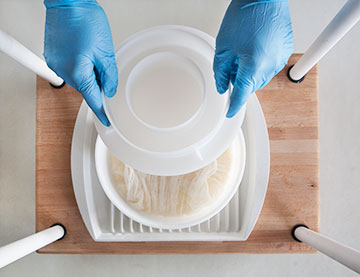
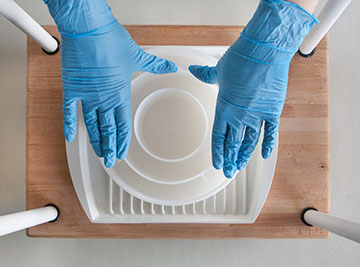
When that happens, find something like a plastic container or flat-bottomed bowl to put on top of the follower (a pusher for the follower???) so the cheese will continue to be pressed for the specified time in the recipe.
If this doesn’t make sense to you, it will make perfect sense once you have the book in your hands and you’re mastering the art of cheese making.

Note: PVC pipes vary in diameter as well as flexibility, temperature resistance, and ability to withstand water pressure (PSI or pressure per square inch). The PVC pipe to buy for our cheese press is rigid and measures 1/2" on the inside and 7/8" on the outside and has a high PSI rating. The size of O ring we recommend is 1/16" less than the PVC’s outer 7/8", making it a snug fit. |
| 1 L A T E S T R E P L I E S (Newest First) |
| NellieBelle |
Posted - Aug 21 2014 : 04:30:58 AM
. |
|
|
![[flourish]](/images/flourish-txt_mobius.png)
